The Visual Studio 2019 virtual machine install could not have been easier. I took the easy route and installed it from the packages available in the market place. This article was a good read to point me in the right direction: https://buildazure.com/2017/03/07/visual-studio-2017-development-using-a-vm-in-azure/
Once the VM was installed, I added a rule to the firewall that allows access over port 3389. This setting is located in the Network Security Group; if you let Azure name everything it will be the name of the server with “-nsg” at the end. Look for Inbound Security Rules. I locked this access to the static IP address at my house. I also set it to the highest priority.

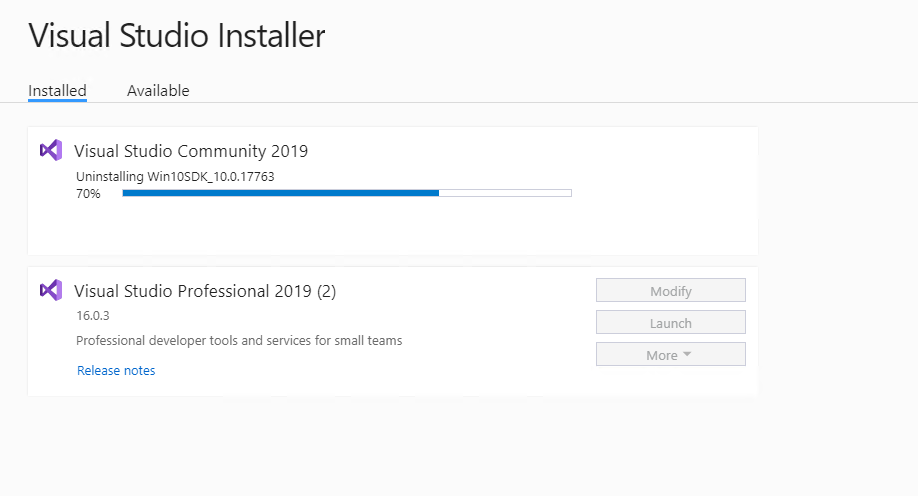
Since I only have the MSDN Professional subscription, I installed the Community version of the VM. Using the Visual Studio installer, I installed Pro and uninstalled Community, since I only need one version of Visual Studio.

After everything installed correctly, I connected to my Azure Dev-OPs instance and started getting busy. I have a few ideas for products I want to make.

The entire process took a bit over an hour. Most of that was waiting for installs of servers and software. Now that the machine is set up, I probably won’t need anything new for a while. From an installation time perspective, this was much faster than setting up a Linux server and building Virtual Machines from install media.
Over the next few weeks, I’ll report back on performance and price compared to using a server here at the house.